- Home
- About Us
- Join/Renew
- Member Benefits
- Member Pages
- Log In
- Help
- Museum Store
Hi Greg,
I was using a 12V booster to assist starting. I hooked it up directly to the battery under the floor; positive to positive and negative to negative. The negative battery cable runs directly to the starter, the ammeter cable and battery cable are attached to the same post. Maybe the 12V booster I used had too many amps?
Thanks for your help,
Jason
Hi Dave,
Good idea to check that the insulator is ok. I’ll add a plastic spacer to the shorted side to help keep it insulated and away from the case.
My wiring is a mess! I have a lot to redo. It starts and runs great, but basically nothing else electrical works.
Jason
Update:
After looking at the back of the ammeter, I see evidence that the wire attached to the burnt post had arched to the case of the ammeter causing the short.
Hi Dave,
See the attached picture of the back of my. The burnt post had a wire running to my starter. I disconnected this wire and the short to my frame went away. 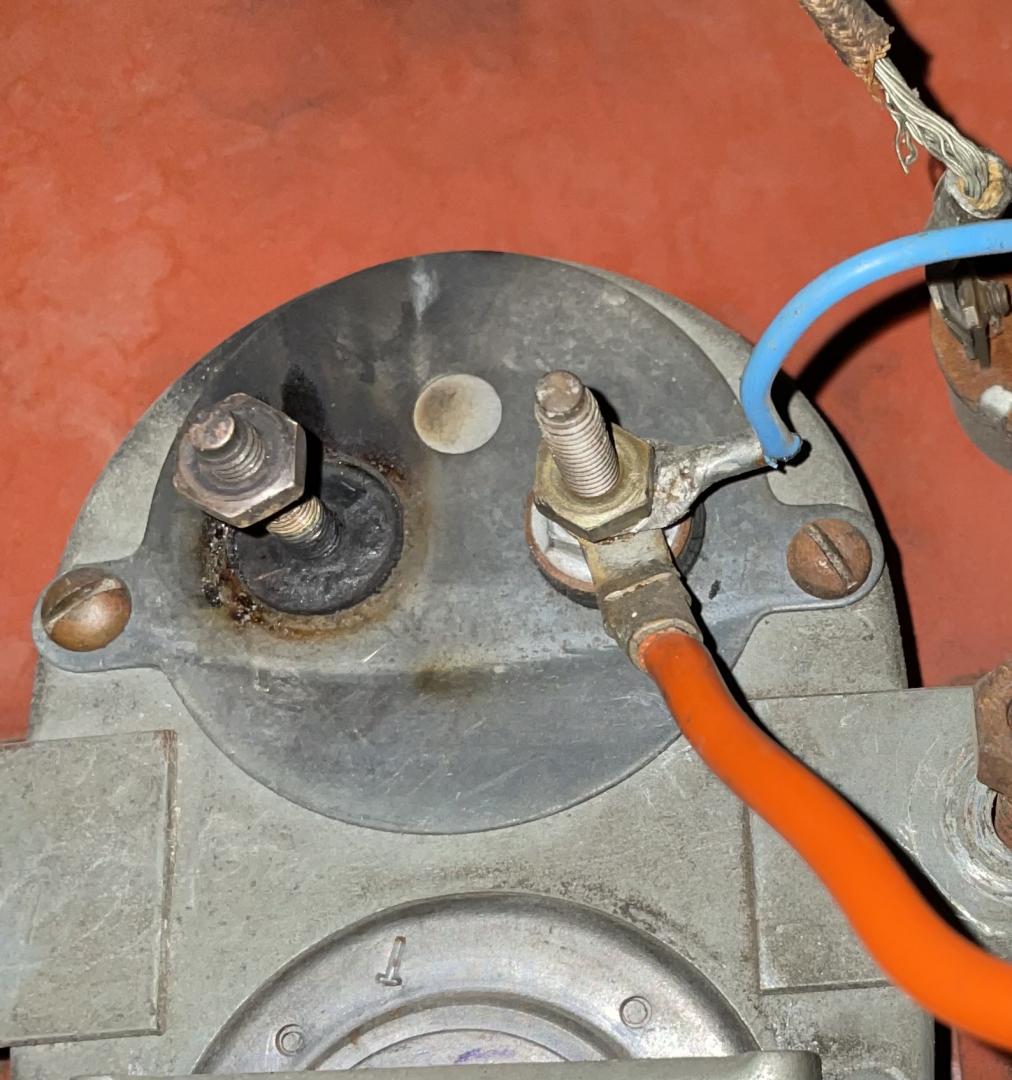
So I figured when it burnt I shorted out internally and to the frame. Well, I just went out to test the burnt terminal to the frame and it’s an open circuit, no short. I also tested between the 2 ammeter terminals and it is almost shorted reading about 1 ohm. Which I think is ok?
I thought that maybe the wire that runs from the ammeter to the starter must be shorted. It is not shorted.
The only thing I’m finding shorted to the frame is the positive battery terminal. As it should be.
Jason
Thanks Herb and Peter for the excellent advice!
Jason
Hi Peter,
I installed new padding, trimmed it, then stretched the material over it then fastened through the top material and padding. I then trimmed the top material. Hopefully the attached pictures will help.
As far as the drip rail goes, I do have it but it is in 2 pieces an is not very straight. I’ve tried to straighten it as much as I can but it’s still crooked. I would prefer to install a new one and would like suggestions as to where to get it.
Jason
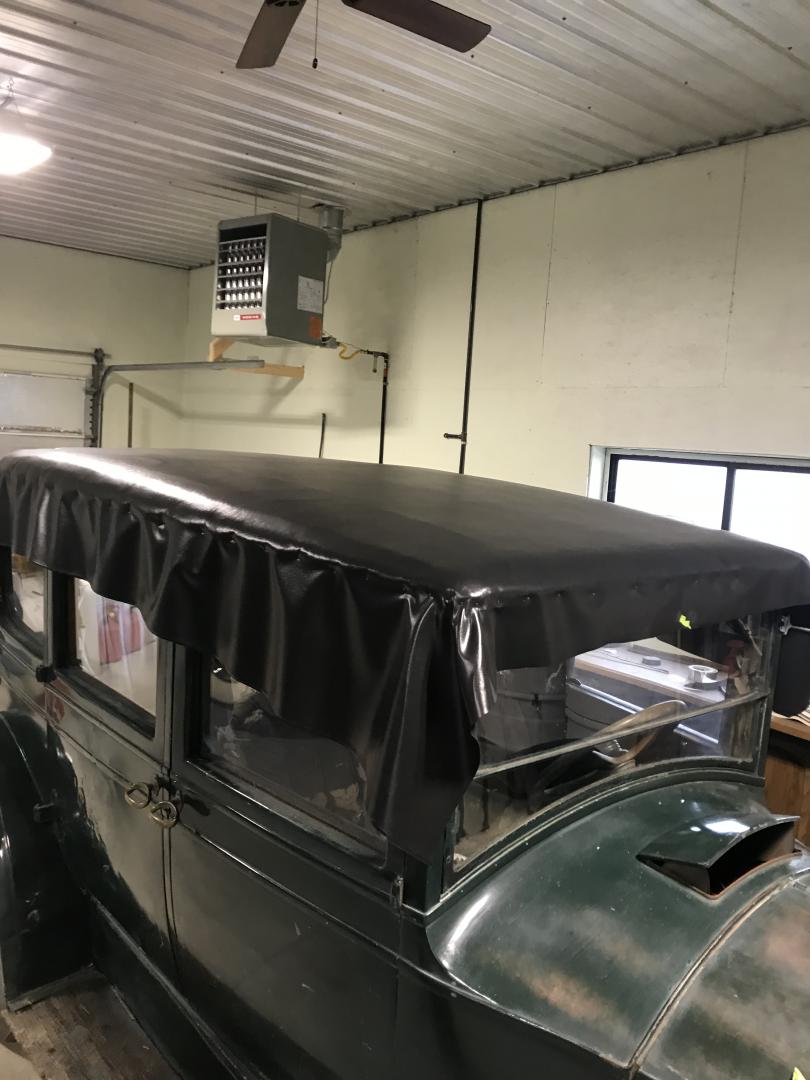
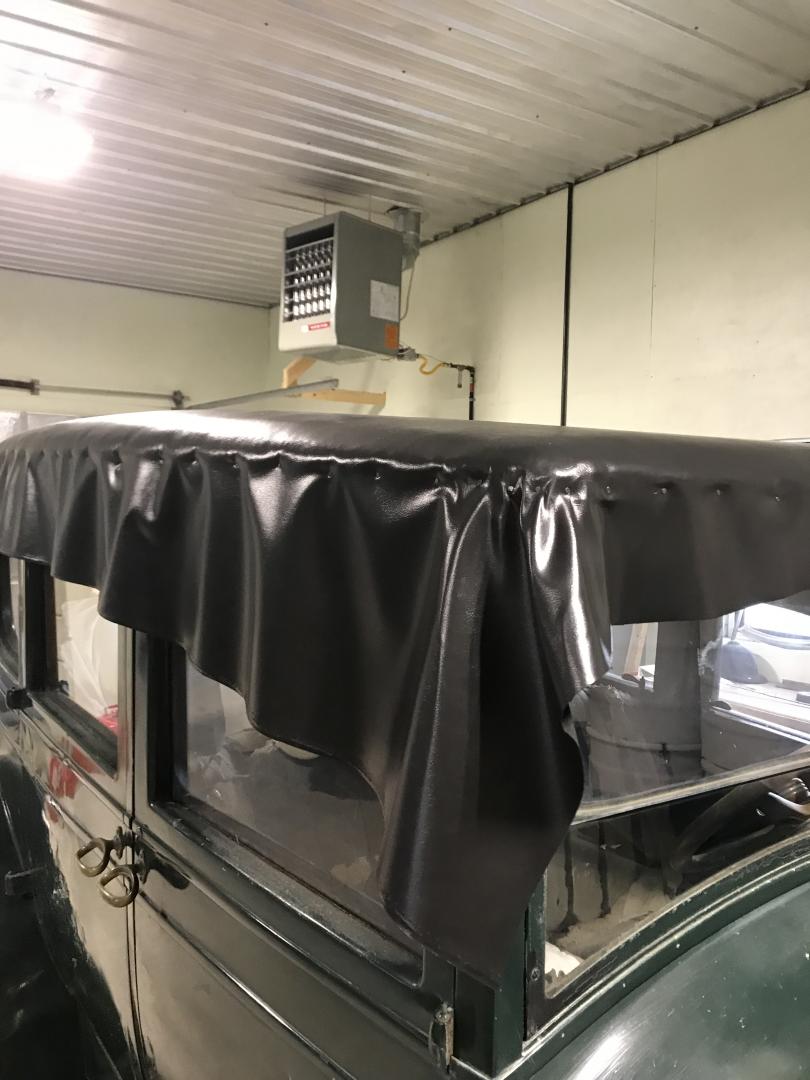
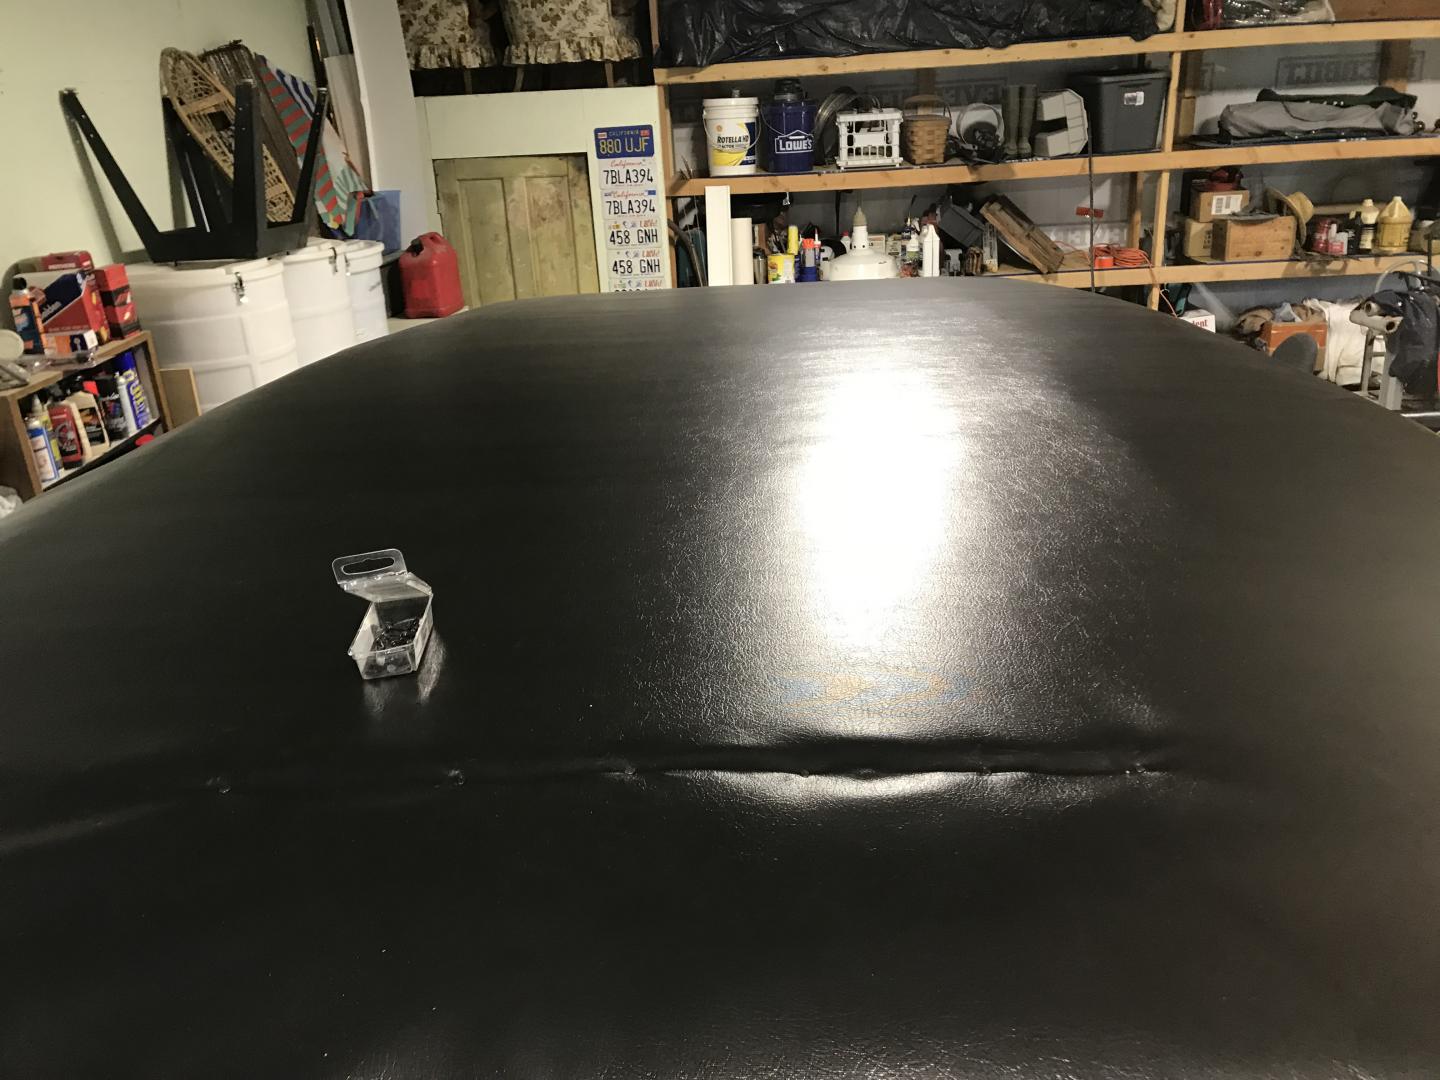
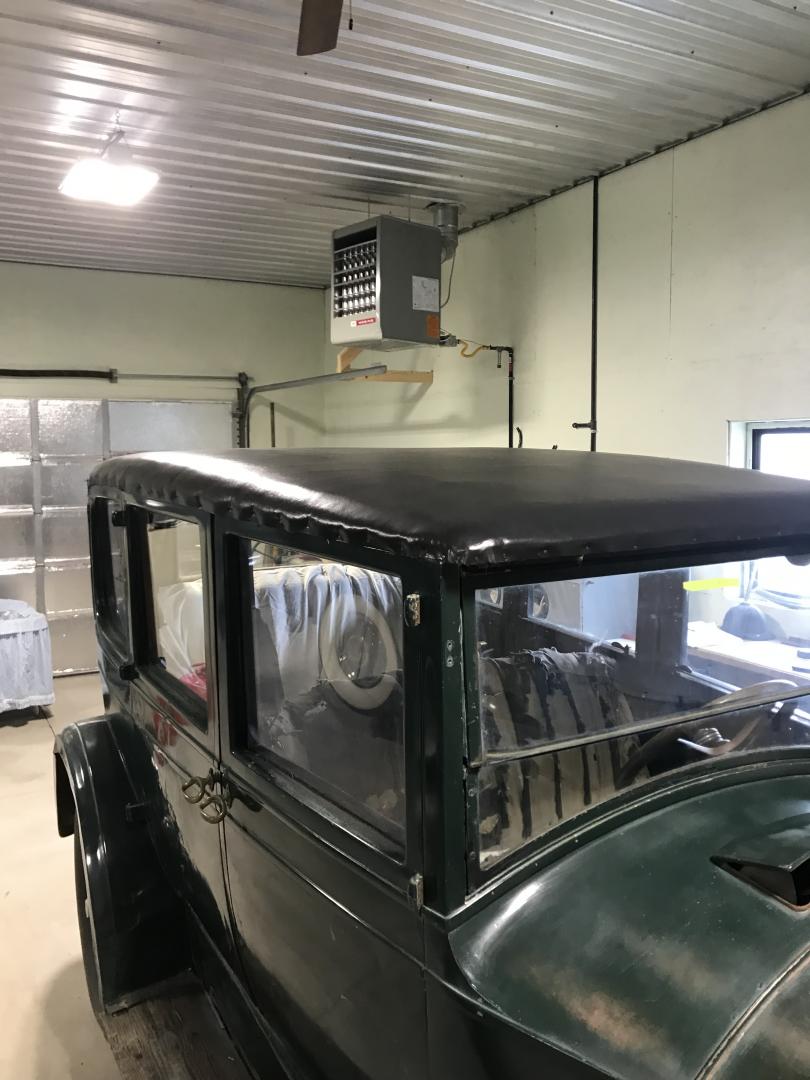
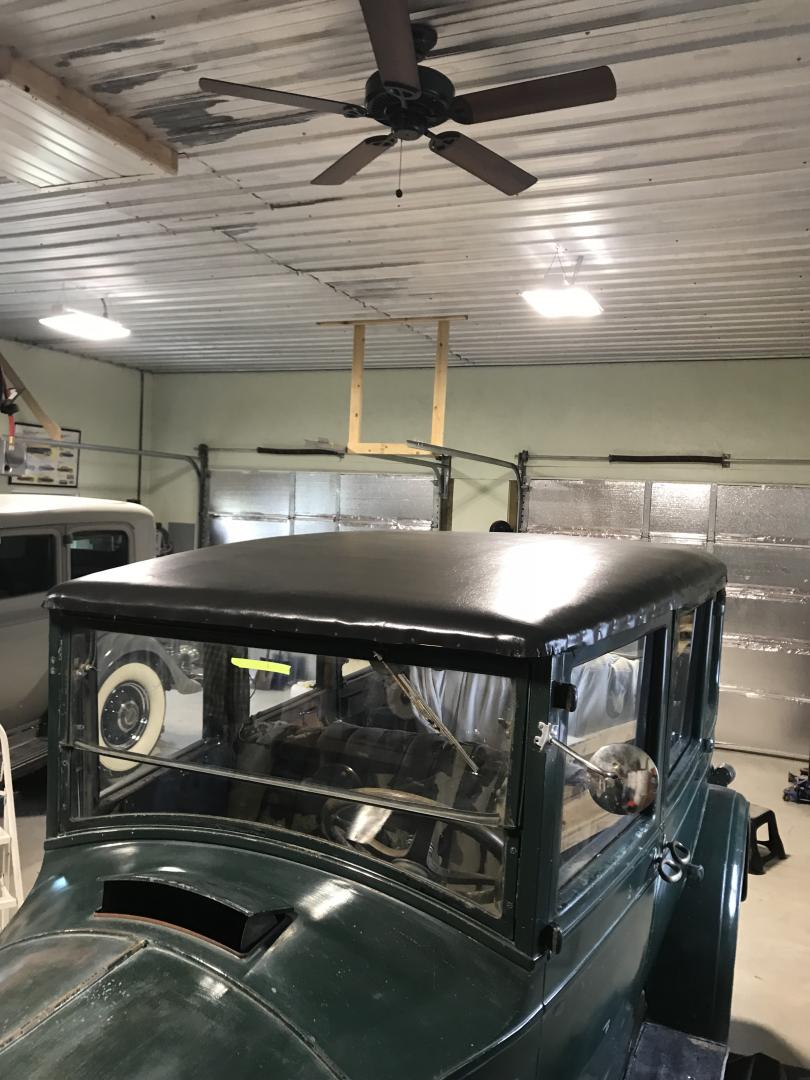
Thank you for all the replies. Sounds like I made a mistake when I installed the padding. I wrapped the “squishy” material over the edge. Now I’m wondering what I should do without starting over with an new piece of roof material? Now that I’ve trimmed the excess material I don’t have enough extra to grab onto while stretching.
Hi Peter, thanks for your reply and any information you can share after you look at your car.
I was able to find correct modern day top material. A member here (Joe Malone) put me in contact with Eric Haartz at the Haartz Corp. to get the correct style material.
The tacks used are standard size, they look like they have a large head diameter due to them pushing in on the top material.
I am missing the windshield visor.
Jason
