- Home
- About Us
- Join/Renew
- Member Benefits
- Member Pages
- Log In
- Help
- Museum Store
Home Page › Forums › What did you do with your P-A today? › “New to me” 1934 PA Convertible Coupe
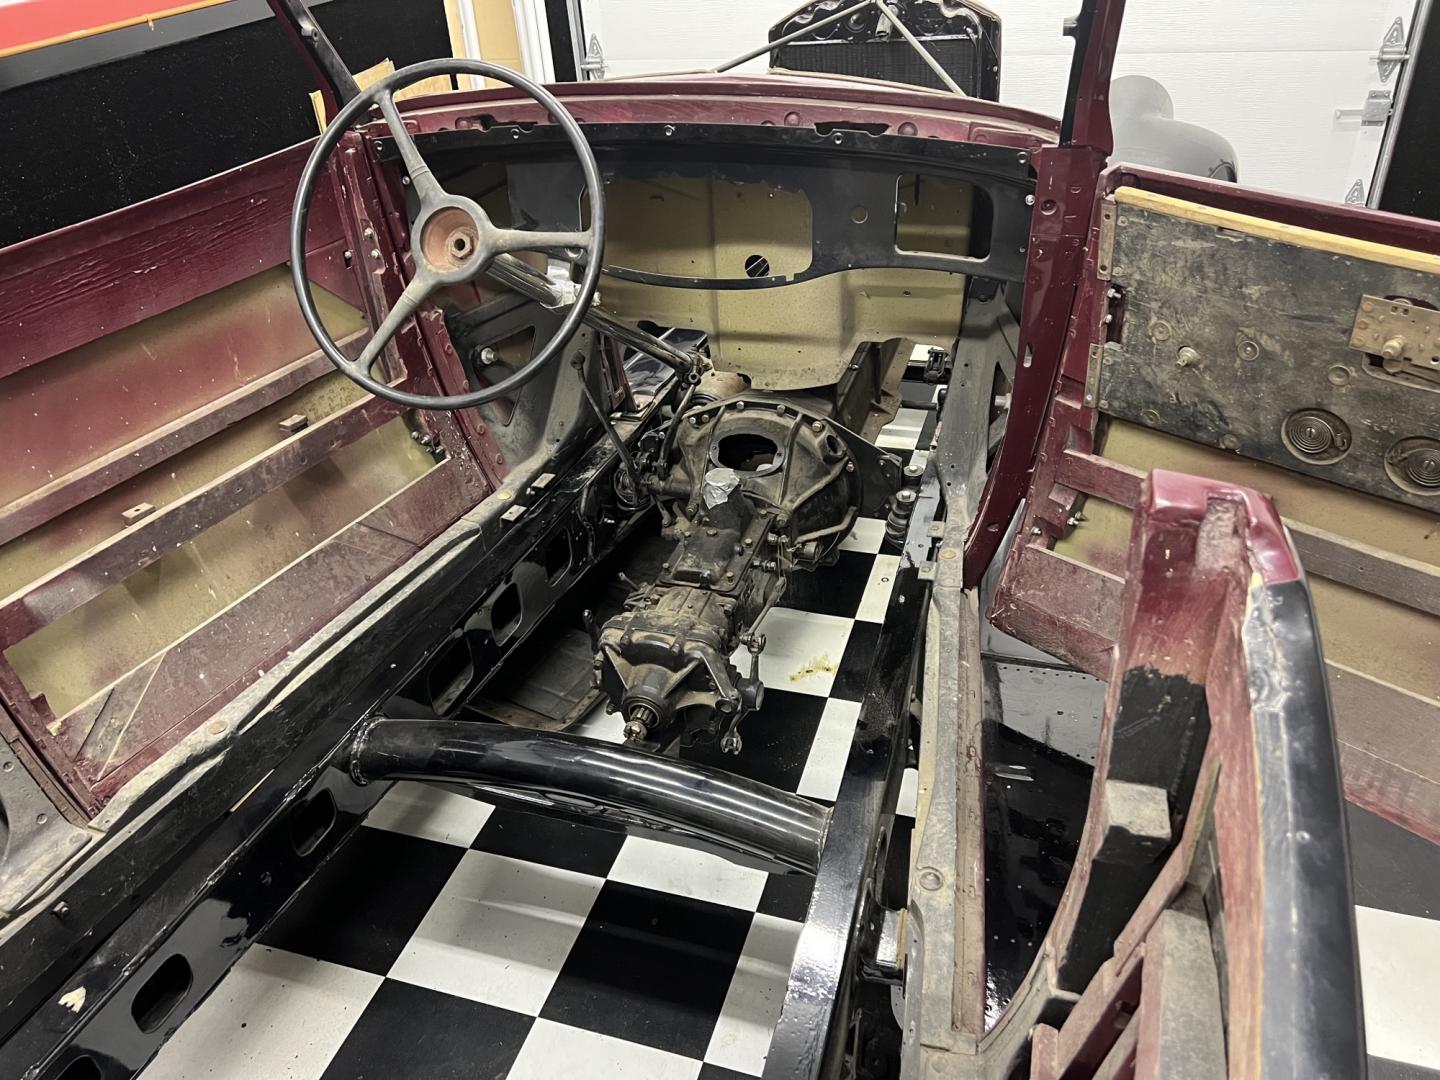
I have ventured into my second PA. I purchased a “basket case” 1934 840A Convertible Coupe. It came “complete” including one PA and two Seagrave engines. It also came with a second transmission. Paint in reasonable shape but years of barn dust. Lots of extra parts. I’m excited to begin the journey. I will try to provide progress reports along the way.
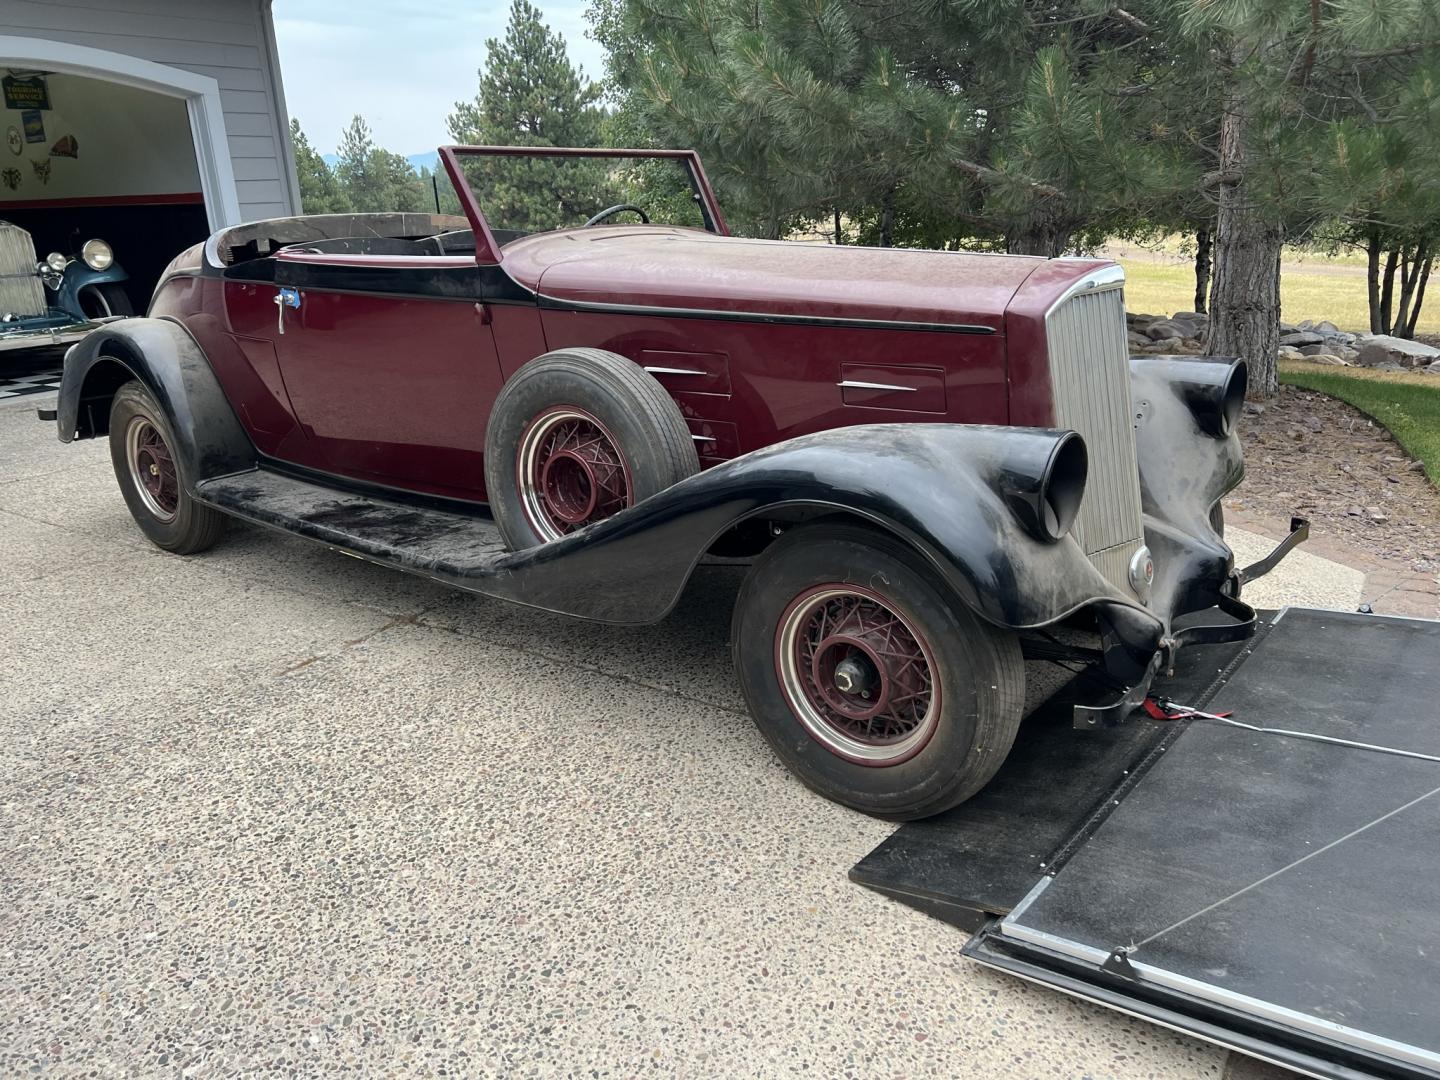
I love a story, and we are just at the beginning!
Ah,man, am I jealous, one of my dream cars! Congrats on finding it, looks like a good car to start with….
It has been a while since I posted so I thought I would give a brief update. There is been little specific progress on the car, but I have been busy organizing and trying to figure out where everything goes. I was fortunate that an ex member of PAS (Ken Ness) has a 1934 840A convertible coupe about 3 hours from where I live. Ken was gracious enough to allow me to come a take a bunch of pictures which helped greatly in understanding many of the parts that came with the car.
One of the challenges/opportunities in parts is that in addition to the original engine in the car (completely disassembled) I also received 3 additional (mostly complete) disassembled Seagraves engines. As a result I have multiples of most everything on the engines (cranks, cams, carbs, distributors, water pumps, oil pumps, etc). If anyone needs a Seagrave block or head (both 8 sparkplug and 16 sparkplug versions) I have them.
I have begun preping to pull the original engine from the vehicle, and have found a local Machine Shop with experience rebuilding tractor and industrial engines. They are familiar with babbit bearings and are set up to do the necessary block flush, clean up, machining and honing. I have the built up connecting rods/pistons already as well as the main bearings. I expect to have the engine to the machine shop within a month and will really know then if he can begin assembly or if I will need more babbiting work. Fingers Crossed!
I have been very pleased to see the restoration work that has been undertaken to date. The frame has been power coated and nearly all of he chrome has been redone. The body paint is generally in excellent condition, but there is some “hanger rash” that I am going to have to address.
Off we go! I will try to post updates every 4-6 weeks and I sure I will need some advice/guidance and will certainly post those needs as well.
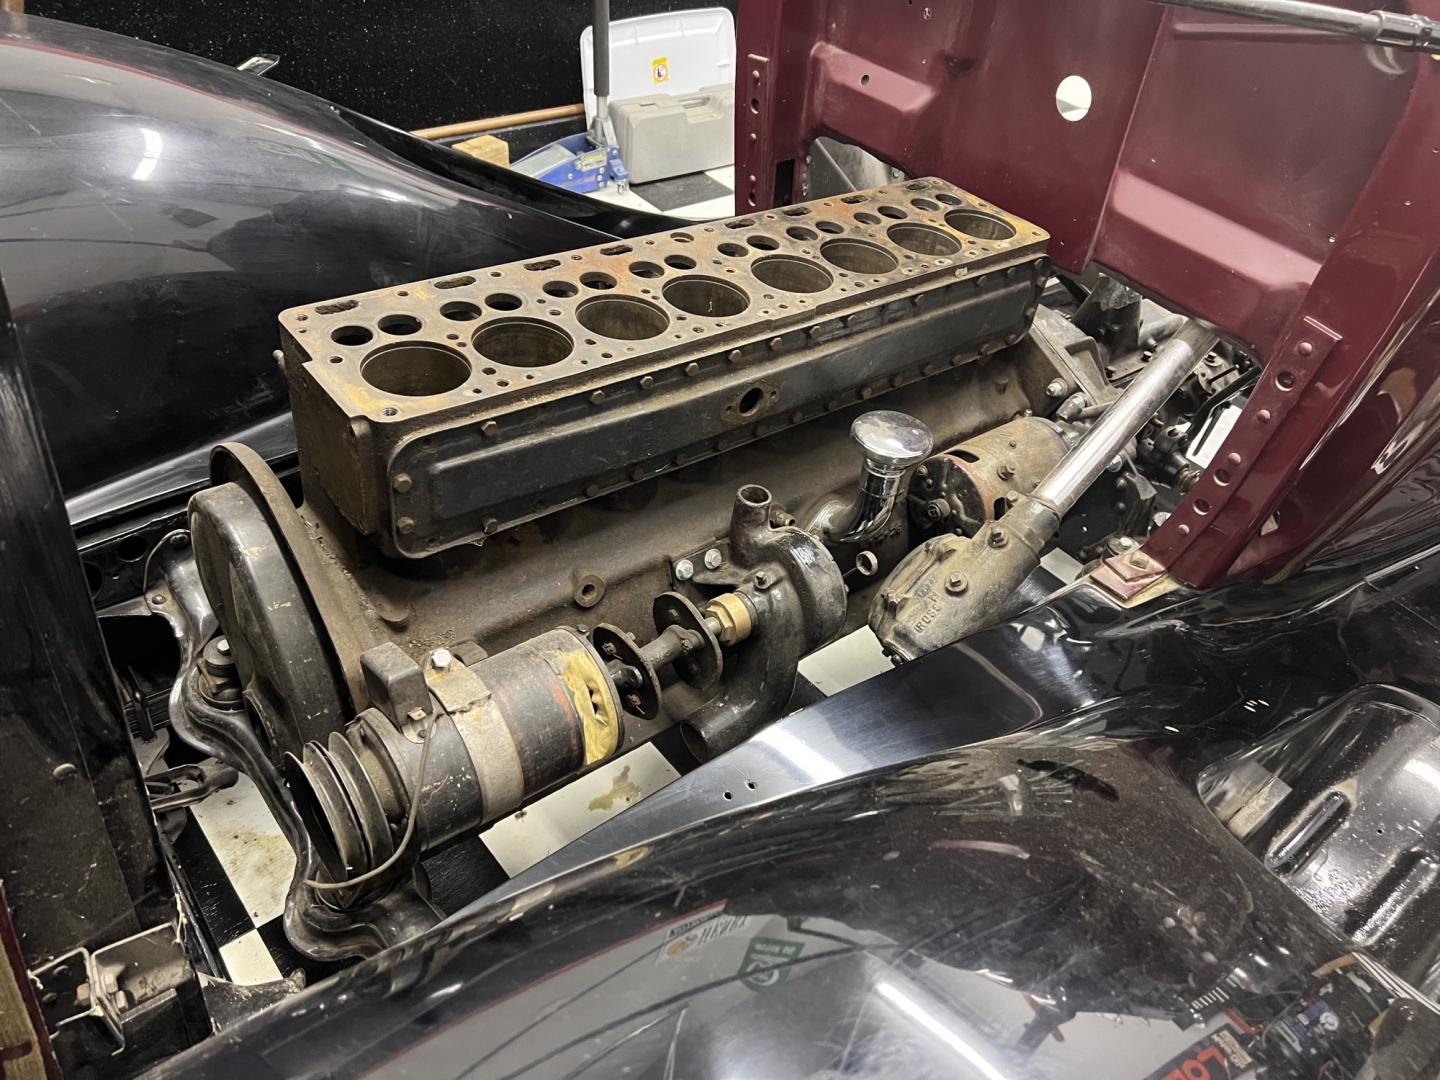
Years ago, I had a $25,000 lesson in re: babbitted bearings. I question how many people in this country (or anywhere) know how to make and/or pour babbit. Eric Rosenau started replacing babbited bearings years ago with insert bearings, and John Ciselak (for one) does it expertly now
Hi Kirby,
Congrats on your find! I have the exact same model and perhaps we can trade stories on “how-to’s” etc.
For instance, I believe Seagraves always had dual spark heads, so any single spark would be Pierce (correct me if I’m wrong), and the desirable Pierce head with the small spark plug holes would be a #5 ( the # stamped on the face of the water outlet flange), since it was for the 836A 366 cu in engine, and has a smaller combustion chamber than the stock 840A 385 cu in, and thus a slightly higher compression ratio.
I will send you an email with other subjects.
Cheers,
Bob Jacobsen
I strongly recommend using modern inserts for the rod bearings. My 1924 Series 33 has two Cadillac inserts in each rod and is performing very well.
I have removed the engine from my 1934 840A at it will be off to the rebuilder next week. I now have a firewall question. According to the wiring diagram for the 840A there is a single coil (unlike my ‘31 Model 42). But looking at the fire wall it appears there is a place to install 2 coils (the upper 2 holes). I have looked at the distributor and there is only a single pole for the coil (again unlike my Model 42). Am I misreading something or is there something else that goes into the second hole? If just one coil, does it go in the L or R hole (when looking forward). Thanks in advance for your assistance!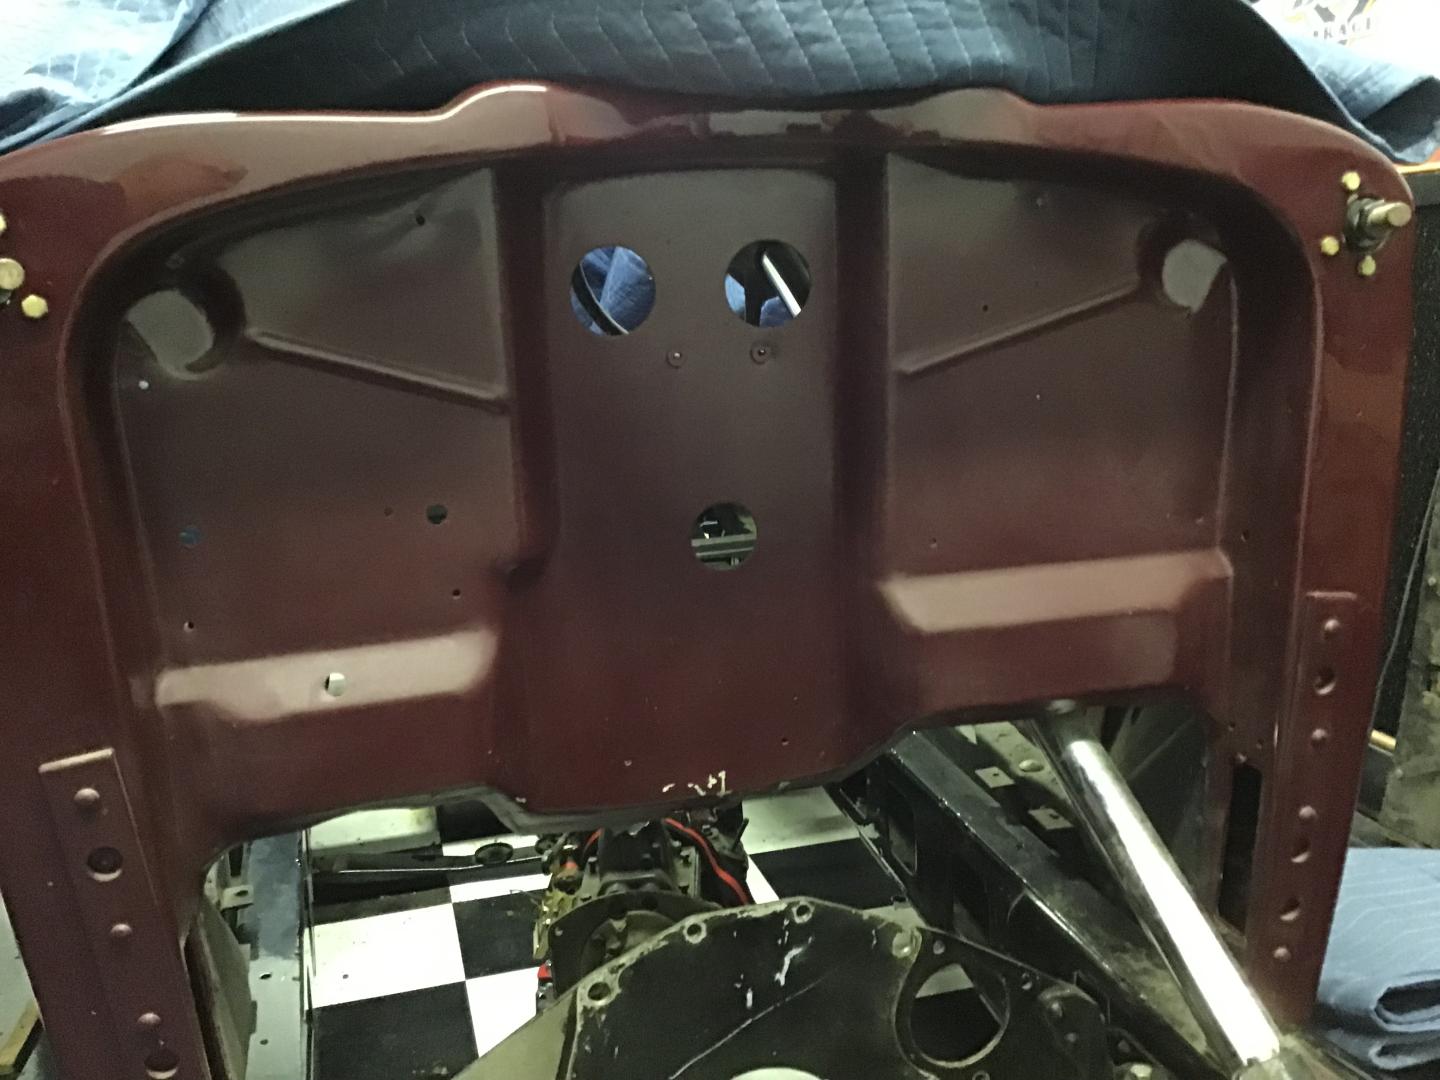
My 1931 eight has a blank coving one of the coil positions in the firewall.
Hi Kirby,
Just going over some old forum posts – saw your firewall picture and question. The picture is of the INNER firewall, part of the cowl, which was punched for both the eight (one coil) and the twelve (two coils). The eight OUTER firewall has the coil hole (and 3 mounting screw holes) near the passenger side. See attached picture (before paint) oh well, I’ll email it.  The space between the firewalls was filled with kapok insulation. The outer firewall (black, with holes for throttle levers, etc) was fastened with screws (facing to the top and side surfaces of the indented cowl) and fender welt. A firewall insulator was attached on the cabin side of the inner firewall (you can buy a nice reproduction from Quiet Ride) with screws and nuts. However, if one ever has to change the insulator (as I did), the nuts are inaccessible once the outer firewall is installed. So I installed rivnuts (captive nuts) on the inner firewall.
Bob
Thank you Bob, that helps a lot. Fortunately I do have the forward firewall in my “buckets” of parts.
Kirby
I was able to complete a couple of milestones on my ‘34 840A in the last couple of days. With the assistance of my lovely wife I was able to install the newly rebuilt engine and I completed the pin stripping. (The stripes look yellow in the pics but they are really grey). She’s beginning to take shape.
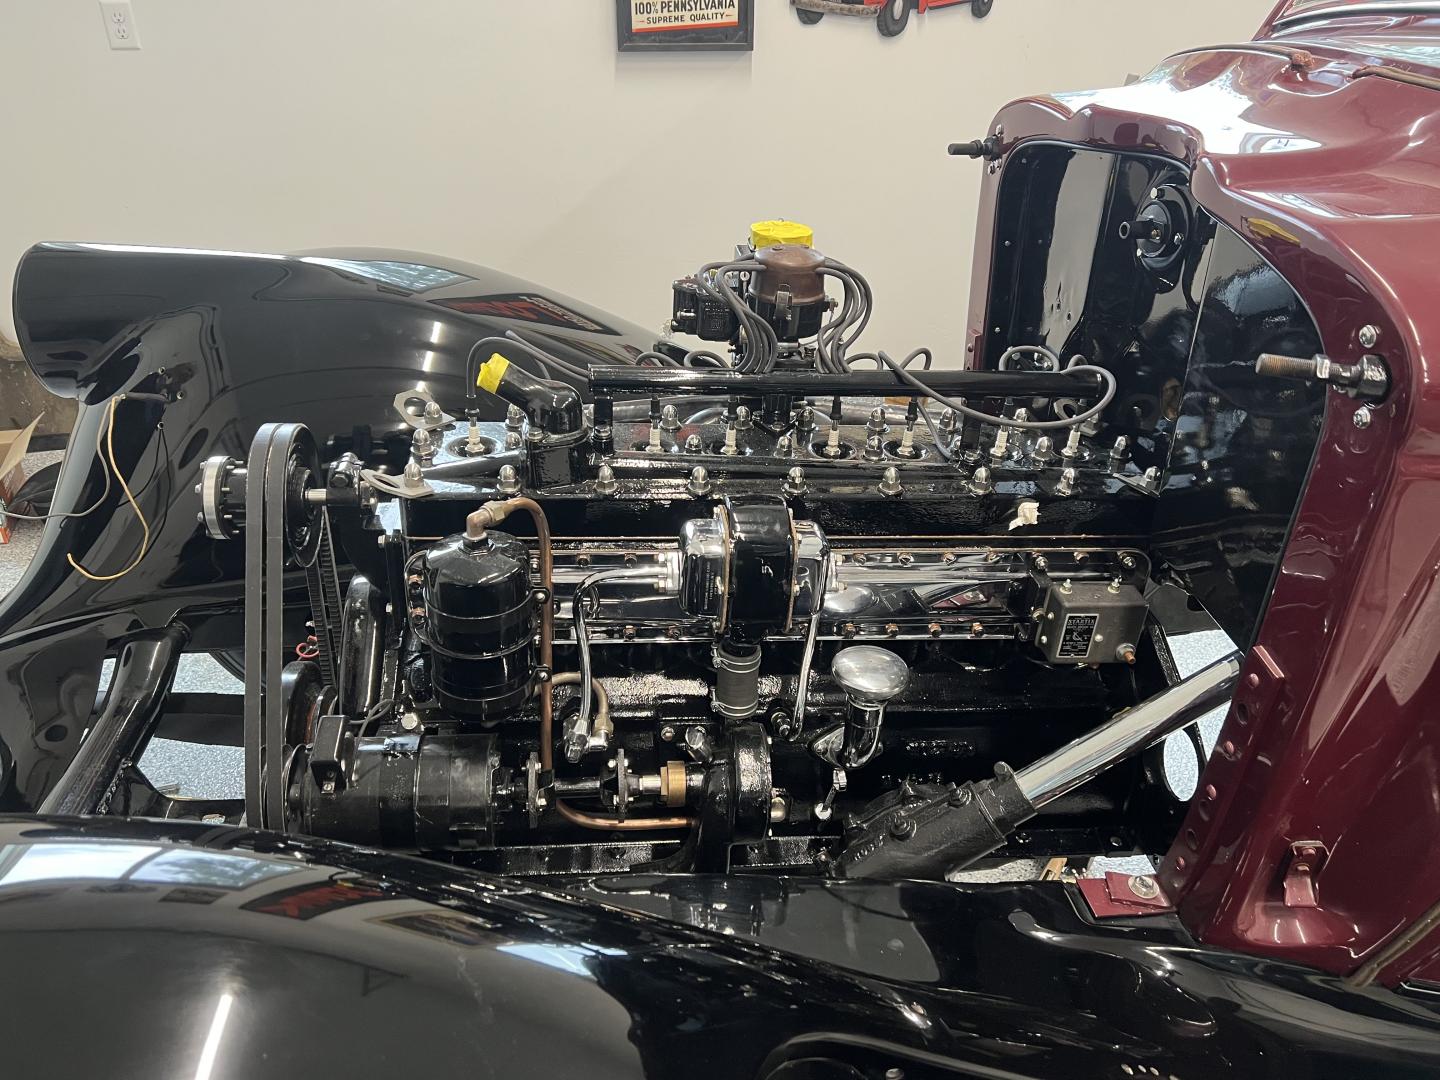
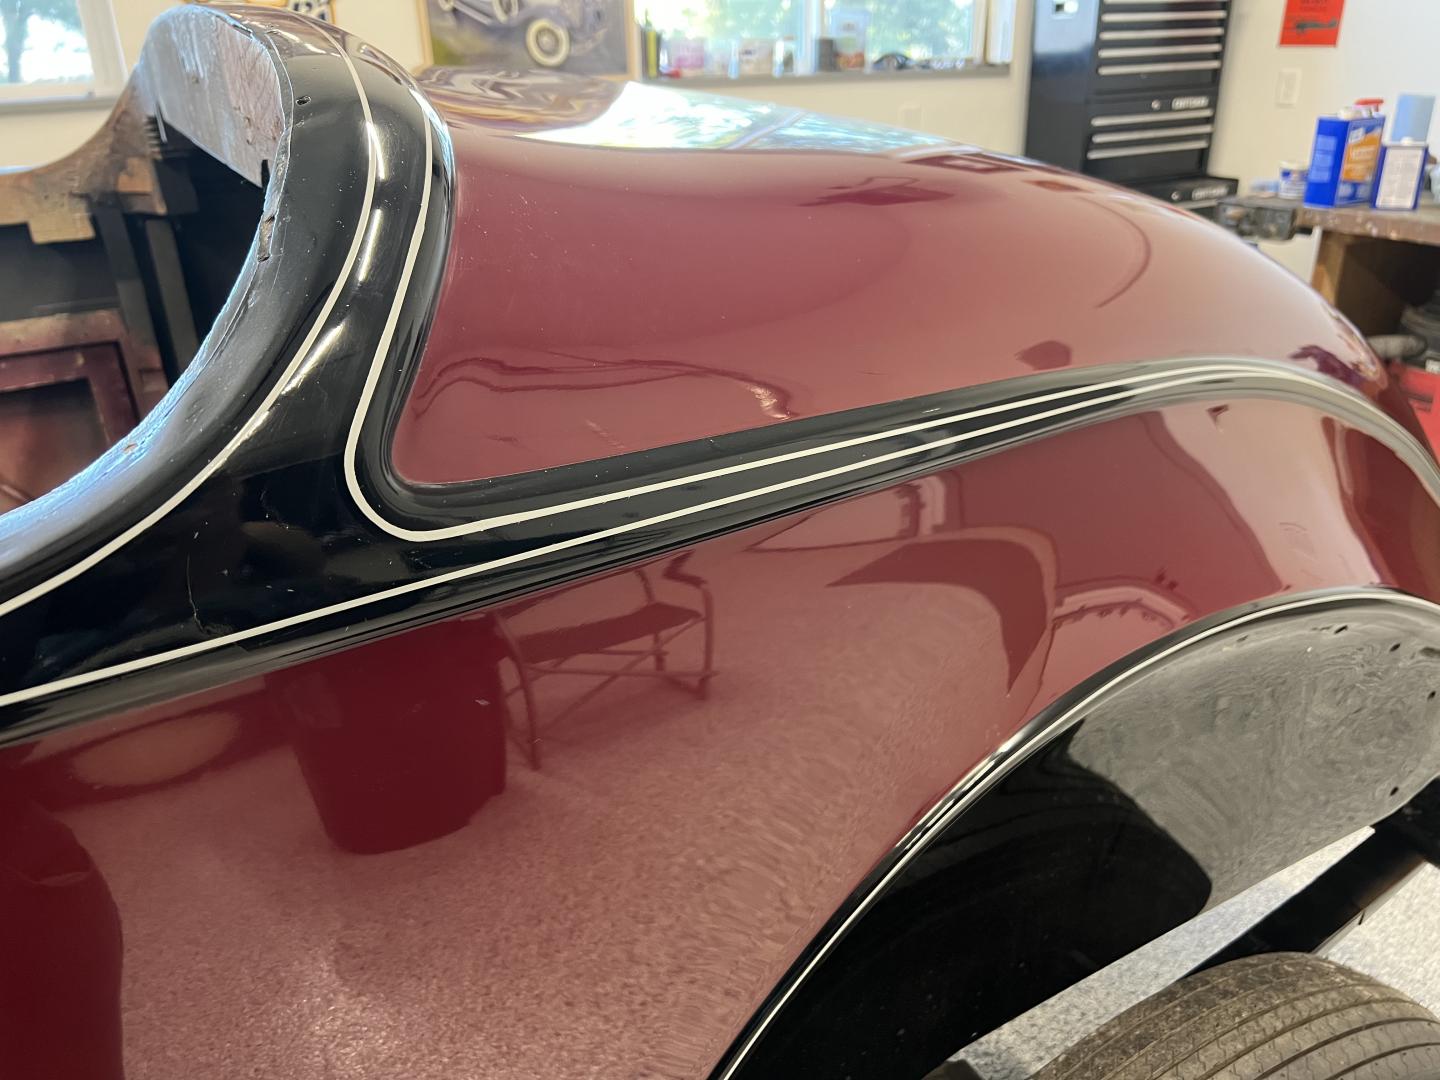
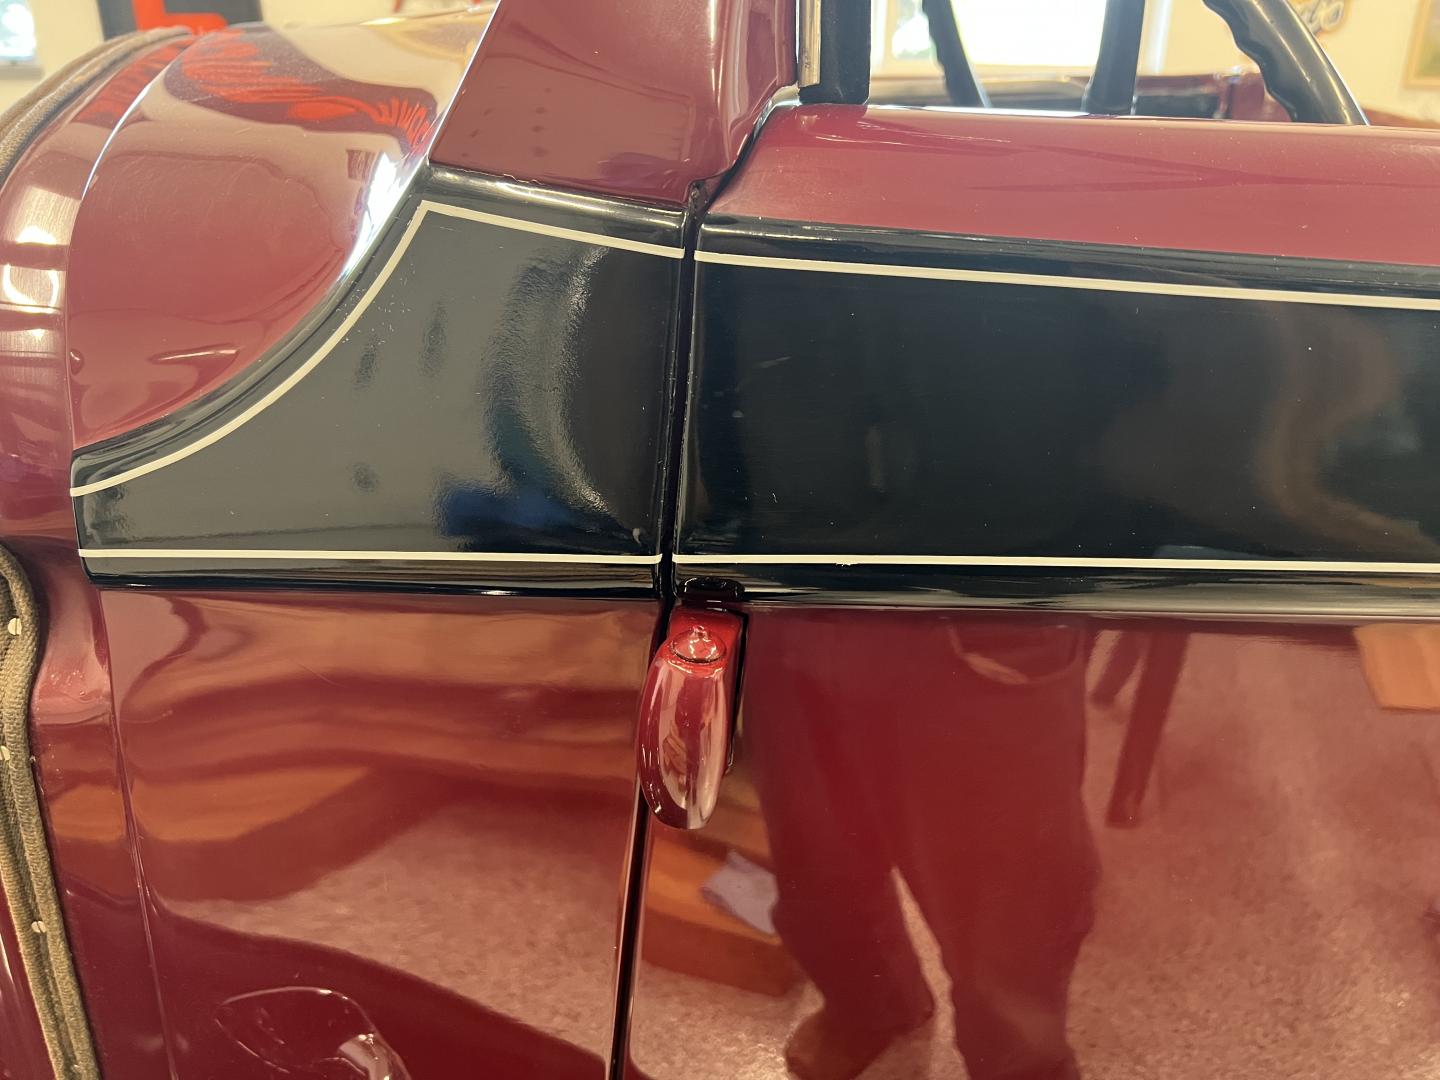
Looking fantastic! You must have a very steady hand.
From this
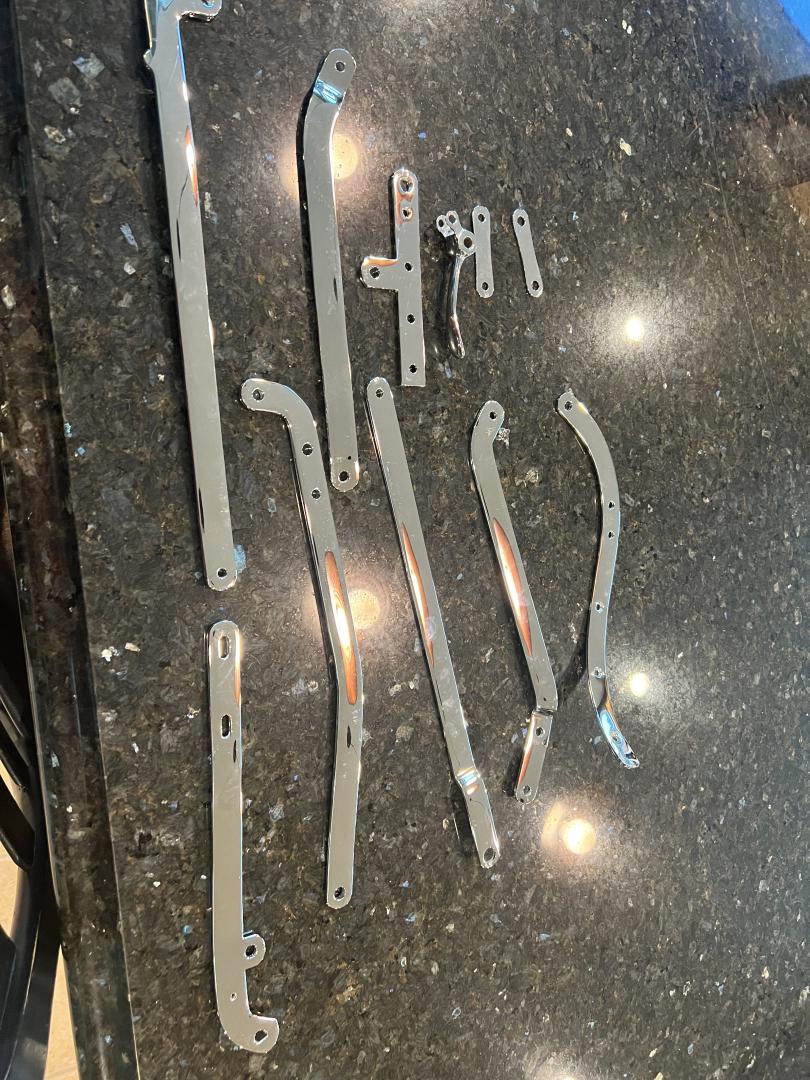
To this
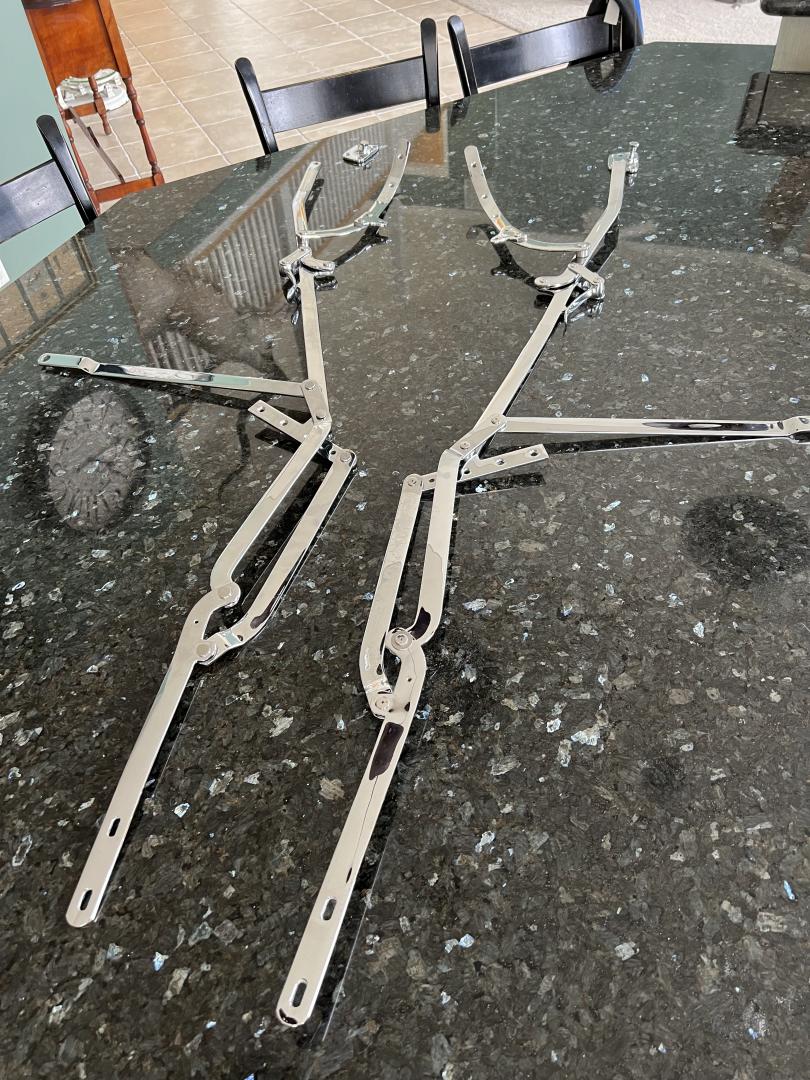
And finally, this
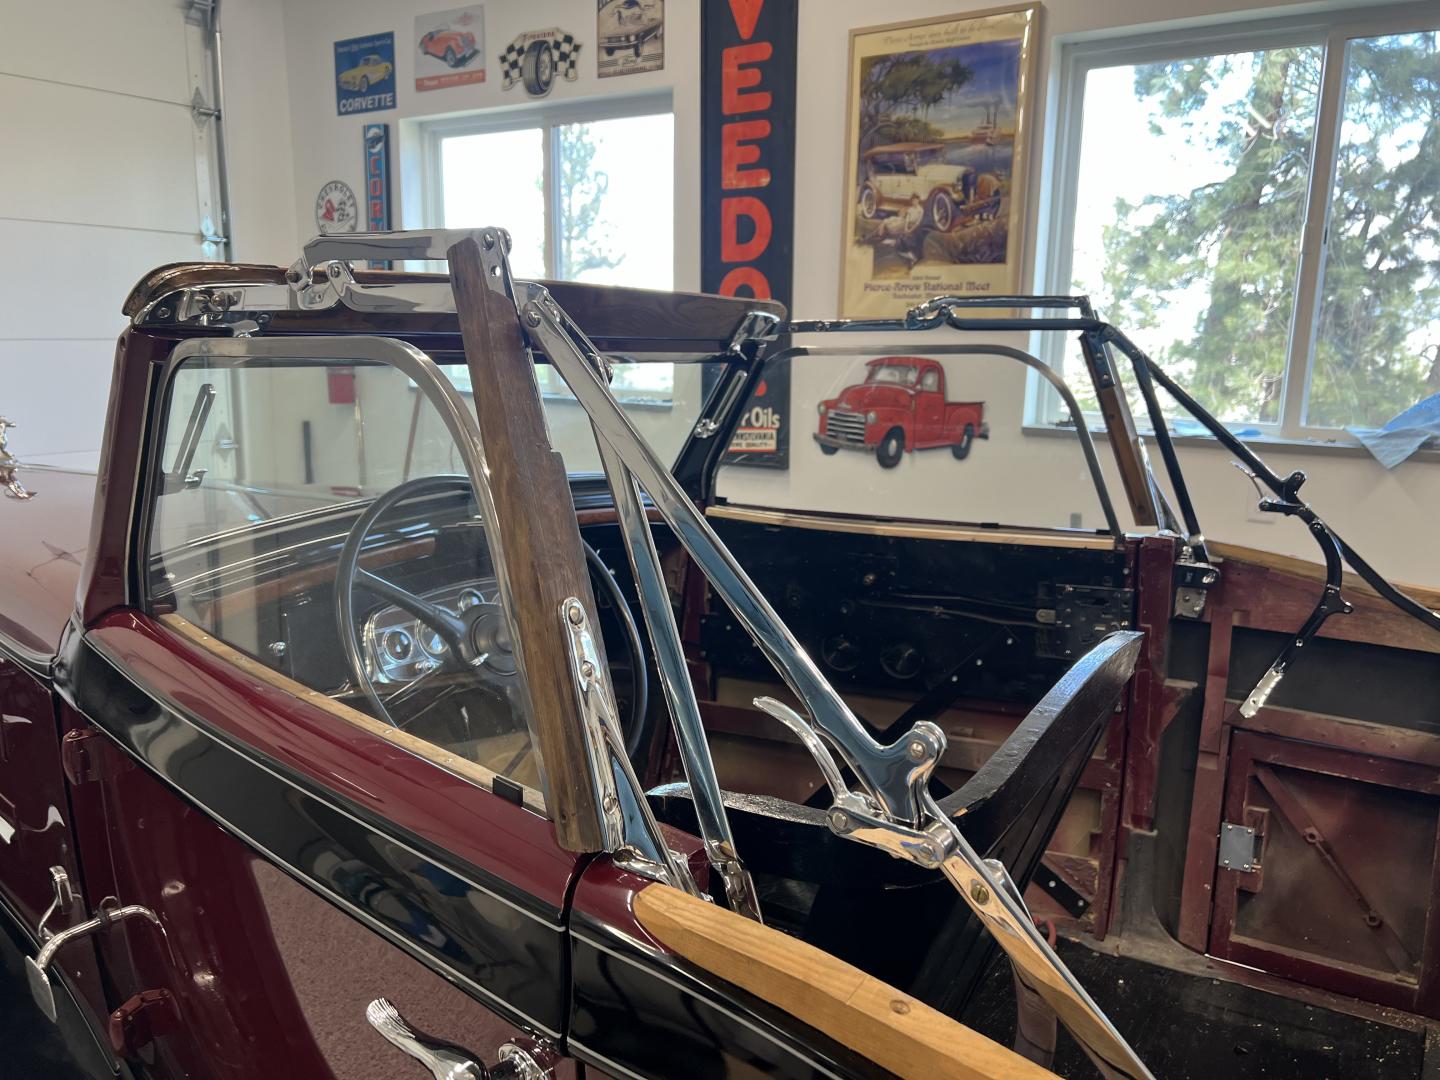
Heading for upholstery and top in the next couple of weeks
Kirby,
Wow it looks fantastic. Just curious, what did you use for the pivot points on the top frame? I have 2 I have to assemble
I am getting ready to tackle some pinstriping and you have given me inspiration. Now if I can just get my wife involved.
Love the photos.
Bill
